How to Tie a Cast Net Knot
Updated date:
How to Repair Holes in a Cast Net
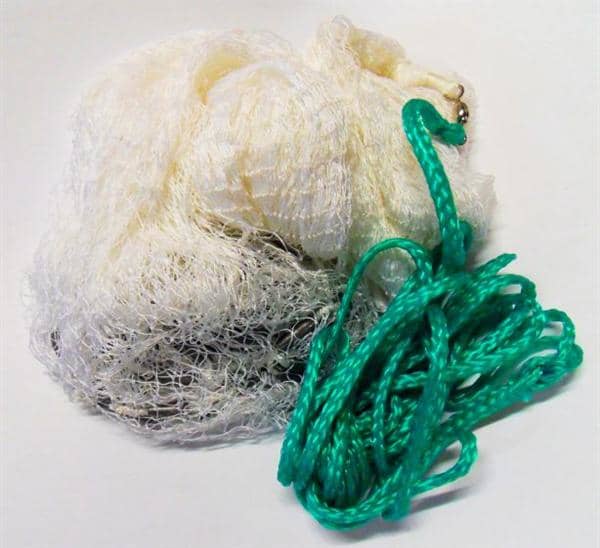
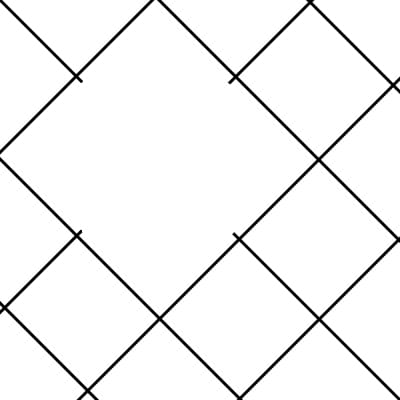
Any angler who has a cast net knows the perils or getting it caught or stuck on something or having too many or too big of fish in the net. This usually results in a rip or hole in the net allowing bait to escape if left unrepaired. The common method or basically puling the torn pieces together and stitching it together like you do would do to a wound. This does remove the hole, but it makes the net uneven and creates "pockets" elsewhere in the net and doesn't let the net open up completely like it should.
The following instructions will allow you to repair two types of holes, the first being a horizontal or vertical rip and the second being a larger gaping hole.
What is needed?
- Monofilament line of similar strength of cast net
- Scissors
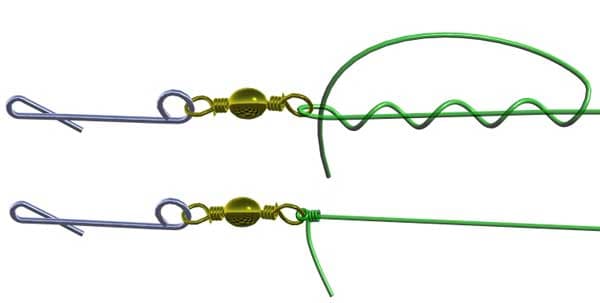
- Know how to tie Clinch Knot
Clinch Knot
- Cut off around 3 times the length of the hole in line
- Pass the line under and over the corner where you start your repair
- Twist the tag end around the mainline 4 or 5 times
- Then pass the tag end back though between the repair start and the first twist
- Pull tight
Initial rip

Final repair
After learning this knot, the repair can be completed.
Repairing a Rip Hole:
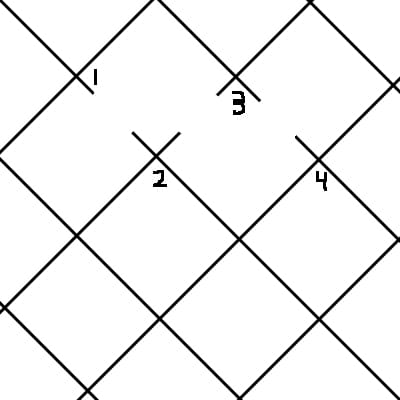
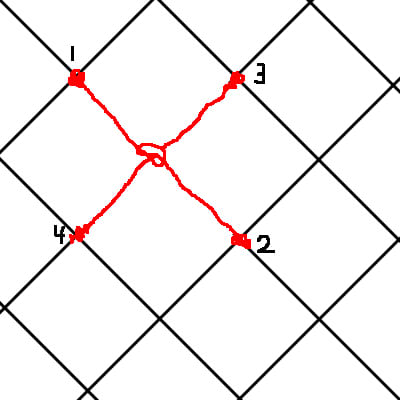
- Looking at the first picture to the right, there are three ripped sections, each having a point labeled 1, 2, 3, and 4
- First, trim the unused line segments that extend from 1, 2, 3, and 4
- Starting at 1, wrap the line around either side of the line that runs perpendicular to the broken 1 line
- Then tie a clinch knot using a short tag end
- Now run the line under and over the 2 point and pull in line until the amount of line between 1 and 2 completes the square
- Now we are going to tie another clinch knot back onto the line between 1 and 2
- Repeat the process from 2 to 3 and 3 to 4 then clip the final tag end
Read More From Skyaboveus
Examining cut line
After trimmed unused line
Final repair
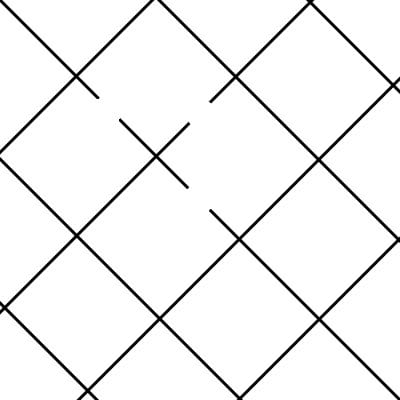
Repairing a Larger Hole:
- Looking at the first picture, there are three broken segments that result in a large hole that fish can escape from
- First step is to trim the unused line close to its originating knot
- Using the same technique as in the previous repair, start at point 1 by tying a clinch knot
- Now, halfway across to point 2, tie an overhand knot but do not tighten it completely
- Finish the first half by tying another clinch at point 2 making the total line between 1 and 2 as when the overhand is tighten later it will free up more line
- Now start again at point 3 with another clinch knot and run the line through the overhand knot made in previous steps
- Next, tie another clinch at point 4
- Finally tighten the overhand knot in the middle of 1 and 2 and you're done!
Now, using this new knowledge you can repair you own net for free and get back to keeping fish in your net!
Thank you on April 04, 2012:
Awsome
reidrichardson (author) from St. Pete Beach on February 11, 2011:
Thanks! I look forward to seeing the results
Michelle Simtoco from Cebu, Philippines on February 11, 2011:
Congratulations! Your hub has been nominated on the Hubnuggets! Reading your hub, I understand why as it is a helpful hub with clear and detailed instructions plus photos to help someone find their way. :) Now to vote and see your Hubnuggets nomination, let me point you to the right direction: http://bit.ly/f8XToN
Related Articles
Source: https://skyaboveus.com/fishing/How-to-Easily-Repair-Cast-Net-Holes
0 Response to "How to Tie a Cast Net Knot"
Post a Comment